Getting Set Up
This page will walk you through how to access Python, download the lab data, and install/setup a geocoding package.
Step 1)
Start Python - UBC provides server space where you can run Python using a Jupyter Notebook
- Login with your CWL. You’ll then be taken to a blank jupyter window.
- This is good option for getting your bearings because nearly everything is already set up.
- You don’t have to worry about installing anything on your own computer.
- This may sound intimidating/confusing. But don’t worry, its easy. You don’t need to know command line to do this. I’ll walk you through step by step!!
Step 2)
Open a command terminal. In the Jupyter window, click “New” in the top right and select “Terminal” from the dropdown menu.
Step 3)
Clone the repository. In the new terminal window that opens, paste the command:
git clone https://github.com/June-Skeeter/GEOB270_Lab4_2021S1
- Hit enter and the flies will download after a few seconds. This tells Git (a file tracking software) to to download a repository for this workshop with all the files and code.
Setp 4) Installing geopy
In the terminal window type:
pip install geopy
- Hit enter to install the geopy package.
Step 5)
Go back to your Jupyter Notebook window. Double click to open the GEOB270_Lab4_2021S1 folder that wasa just download.
- You’ll see a two more folders and a collection of files. The .ipynb tag on the end denotes a Jupyter “Notebook”
- A Notebook is a collection of Python code and annotations that can be run interactively.
- Double click on “Geocoding with Python.ipynb” to open it.
Step 6)
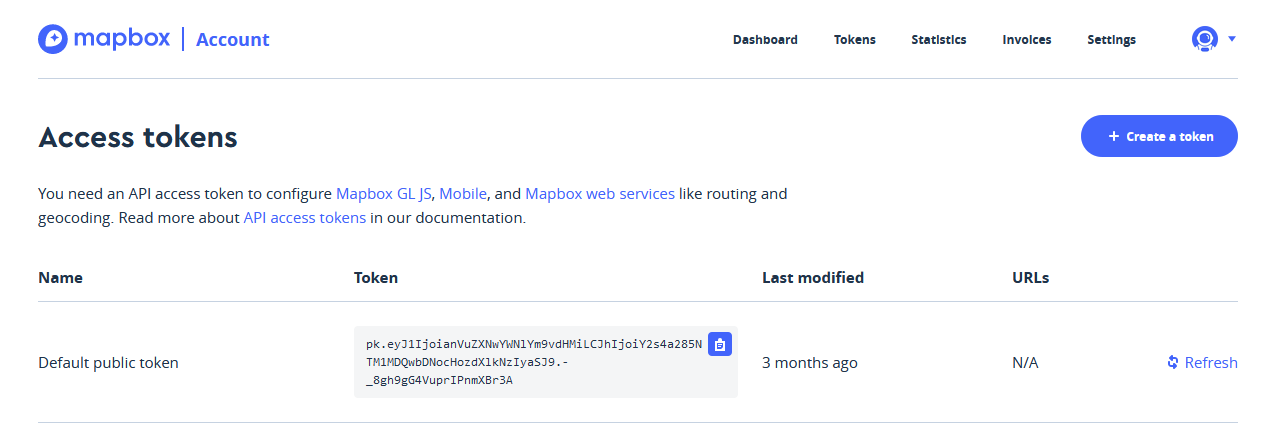
Create a Mapbox accont. We need this to access our API key later. Then you can access token here
- On this page, you should see a “Default Public Token”. This will be the key we use to access Mapbox’s geocoding service. Leave this tab open for now and go on to the next page.